Makeup Contouring for Beginners
Contouring is still reigning across catwalks and Instagram. A makeup technique that became popular just a few short years ago is still considered, by many, an essential part of their daily makeup routine. If you’re not familiar with doing it yourself, then this brief guide is a great way to get started. Here we cover why we contour, choosing a palette, getting the right tools, and your application.
Why contour?
When we use the one shade of foundation to cover our entire face, it can make us look a bit flat. In the past, women used blush, eye shadow, and bronzers to add extra dimensions to the face, but contouring takes it a whole lot further.
A trick of the trade for drag queens everywhere came into the popular lexicon when Kim K started showing us how she gets so much dimensions to her face – by contouring. Bare contour lines, in brown, and highlighting lines in white, can look particularly startling before they are blended! However, with the right technique, the right products and tools, it can look pretty amazing when done.
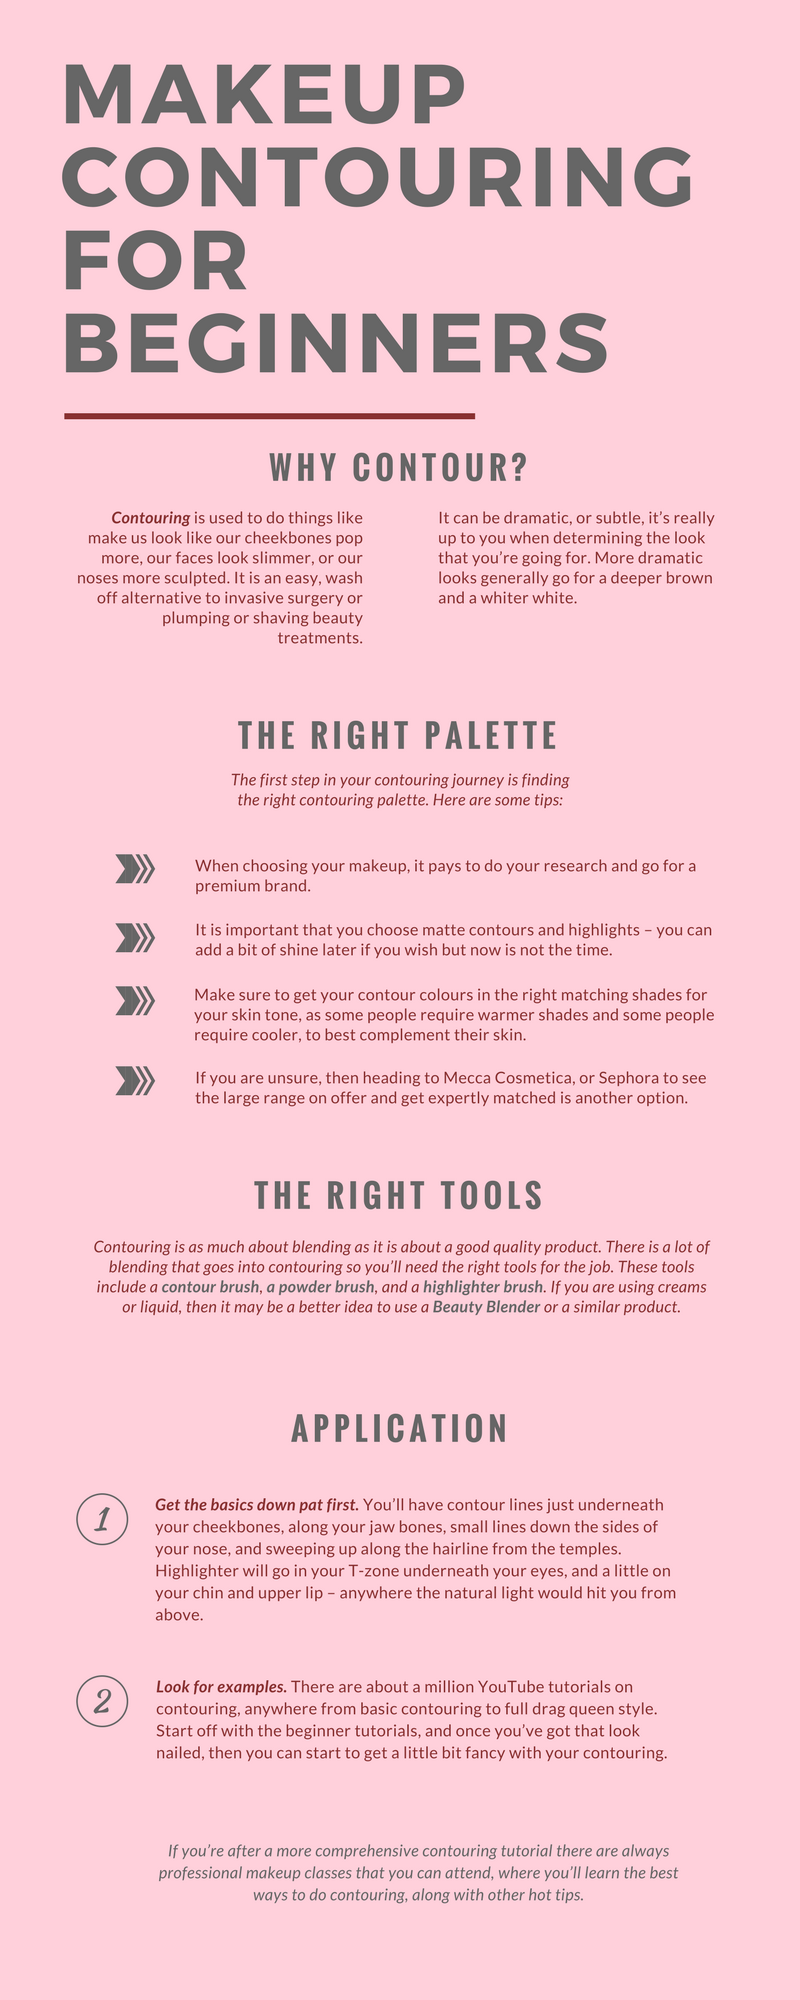
Contouring is used to do things like make us look like our cheekbones pop more, our faces look slimmer, or our noses more sculpted. Contouring is an easy, wash off alternative to invasive surgery or plumping (or shaving) beauty treatments.
Contouring can be dramatic, or subtle, it’s really up to you when determining the look that you’re going for. More dramatic looks generally go for a deeper brown and a whiter white.
The right palette
The first step in your contouring journey is finding the right contouring palette. This may be a selection of different browns and a highlighter or even two highlighters. As usual, when choosing your makeup, it pays to do your research and go for a premium brand. Some contours will give better coverage, be less cakey, etc. etc. It is important that you choose matte contours and highlights – you can add a bit of shine later if you wish but now is not the time.
Kits or standalone products may be either in powder form, stick, or cream, or sometimes a combination of these. Make sure to get your contour colours in the right matching shades for your skin tone, as some people require warmer shades and some people require cooler, to best complement their skin.
If you are unsure, then heading to Mecca Cosmetica, or Sephora to see the large range on offer and get expertly matched is another option.
The right tools
Contouring is as much about blending as it is about a good quality product. There is a lot of blending that goes into contouring so you’ll need the right tools for the job. These tools include a contour brush, a powder brush, and a highlighter brush. If you are using creams or liquid, then it may be a better idea to use a Beauty Blender or a similar product.
Application
You can go easy or heavy with your contouring application, but for beginners, it’s best to get the basics down pat first. You’ll have contour lines just underneath your cheekbones, along your jaw bones, small lines down the sides of your nose, and sweeping up along the hairline from the temples. Highlighter will go in your T-zone underneath your eyes, and a little on your chin and upper lip – anywhere the natural light would hit you from above.
If you are looking for examples, there are about a million YouTube tutorials on contouring, anywhere from basic contouring to full drag queen style. Start off with the beginner tutorials, and once you’ve got that look nailed, then you can start to get a little bit fancy with your contouring.
If you’re after a more comprehensive contouring tutorial there are always professional makeup classes that you can attend, where you’ll learn the best ways to do contouring, along with other hot tips.